About this Page
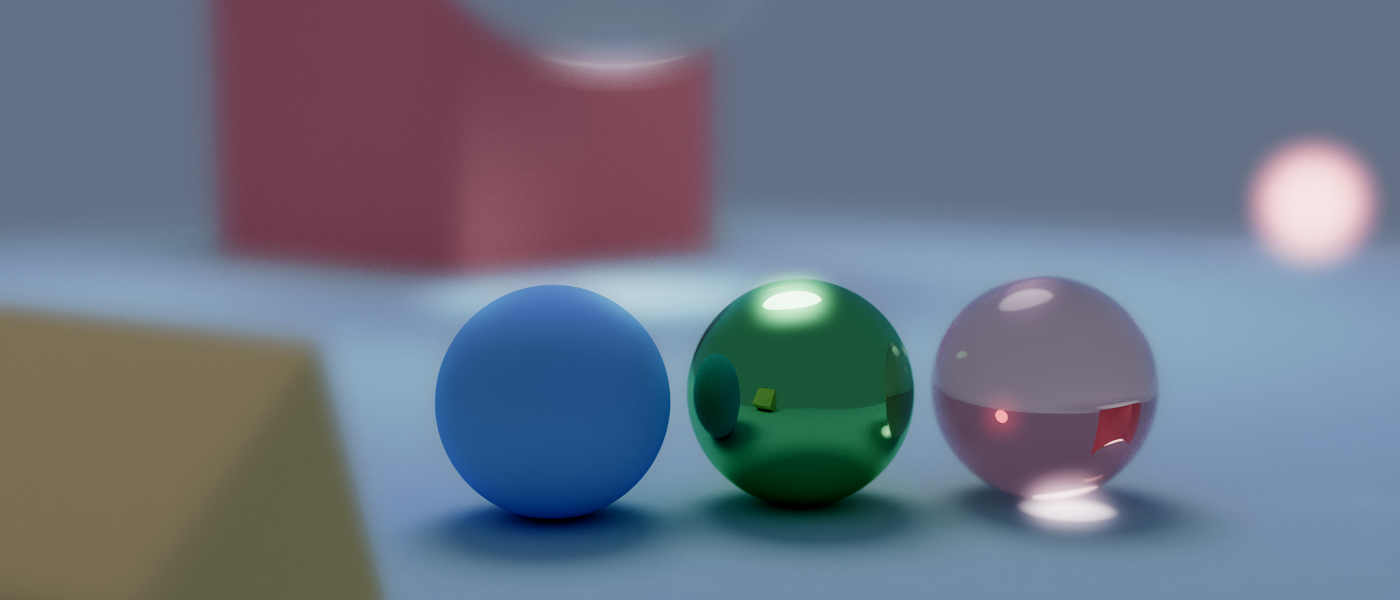
Throughout this page I will attempt to give an overview of this project and briefly describe what all the terms mean. I am not really qualified to explain in-depth all the intricacies of path / ray tracing, but I think I've learned enough through working on this to have a better understanding than the average person on the technical aspect. Additionally, I only worked on these projects because I thought it was fun, not with the intent of documenting it so some parts of the 'history' are lost and some of the code is now mute (because I was bad with leaving detailed comments). This is mostly in chronological order, but some parts at the end are not.
What is Ray Tracing?
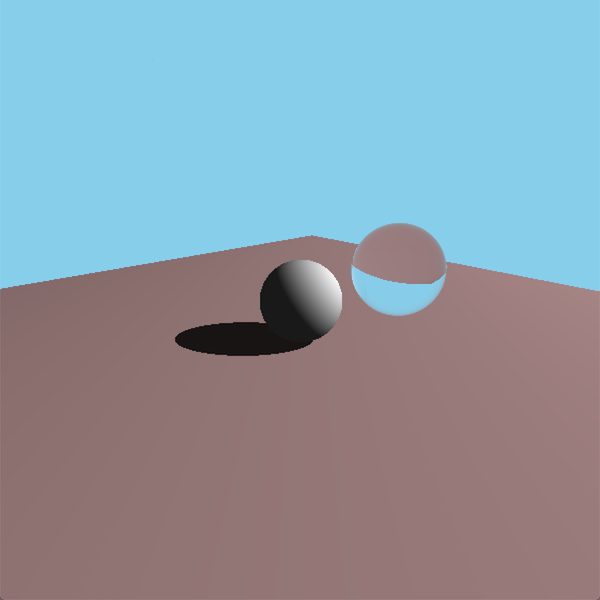
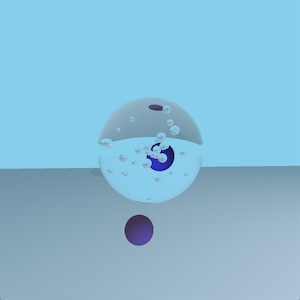
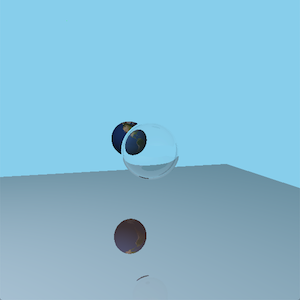
Ray tracing this a rendering technique where rays are cast into a scene and color information is retrieved based on the objects that the ray interacts with. A simple method casts one ray per pixel and simply returns the color of the first object it intersects with. To make my results look better I added point light sources and a simple shading algorithm, first I cast a new ray from the hit location to every point light source. If the ray is obstructed then the point is in shadow, if not then we get the angle between the surface normal and the light and use that for shading. Next, I added transparent objects with variable index of refraction (IOR) which I think look okay but they don't interact with light any more than deflecting the rays from the camera. Finally, I added simple UV texturing so I could make a small globe.
What is Path Tracing?
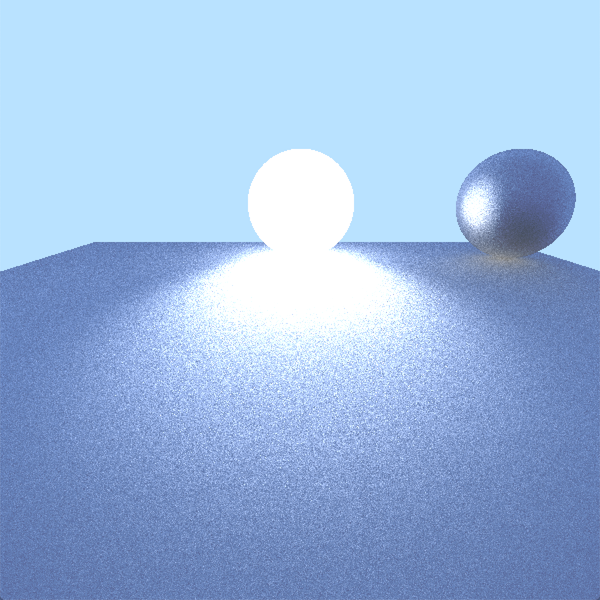
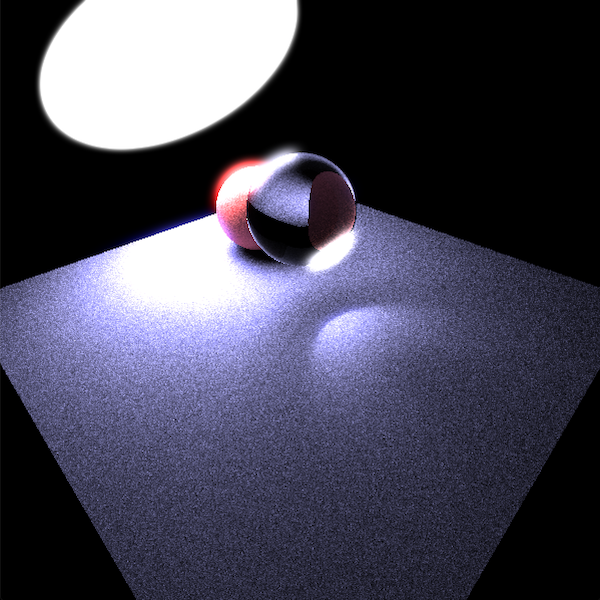
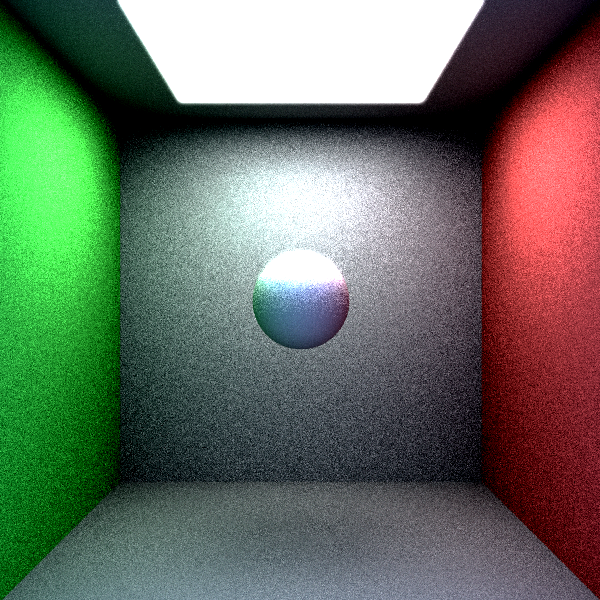
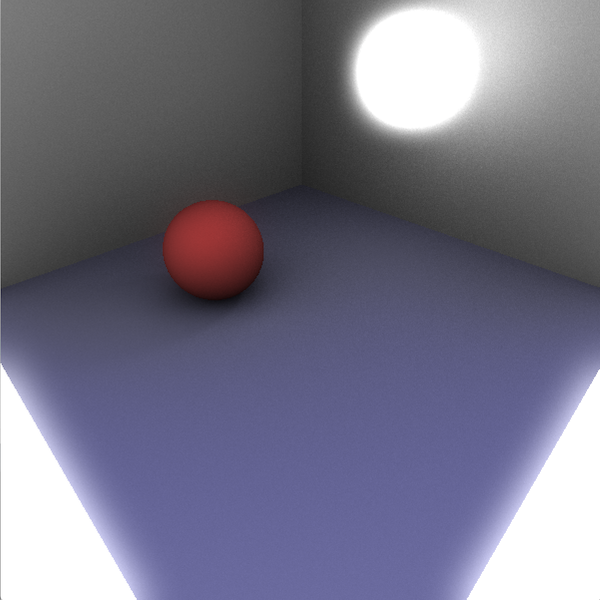
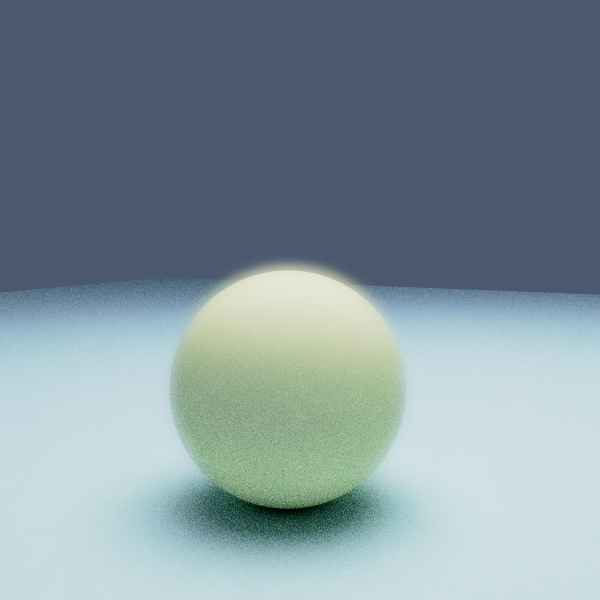
Path tracing is Ray tracing on crack. Instead of calculating the brightness of a point by casting rays at a light we just shoot a bunch of rays randomly into the scene and collect light from these samples, in turn each sample casts its own samples (and so on until we terminate). This is just a simplistic method, but it allows for far more diversity in results than simpler ray tracing. This simple implementation to the right was my first attempt and looks okay for the hacky way I did it at the time.

Adding a GUI
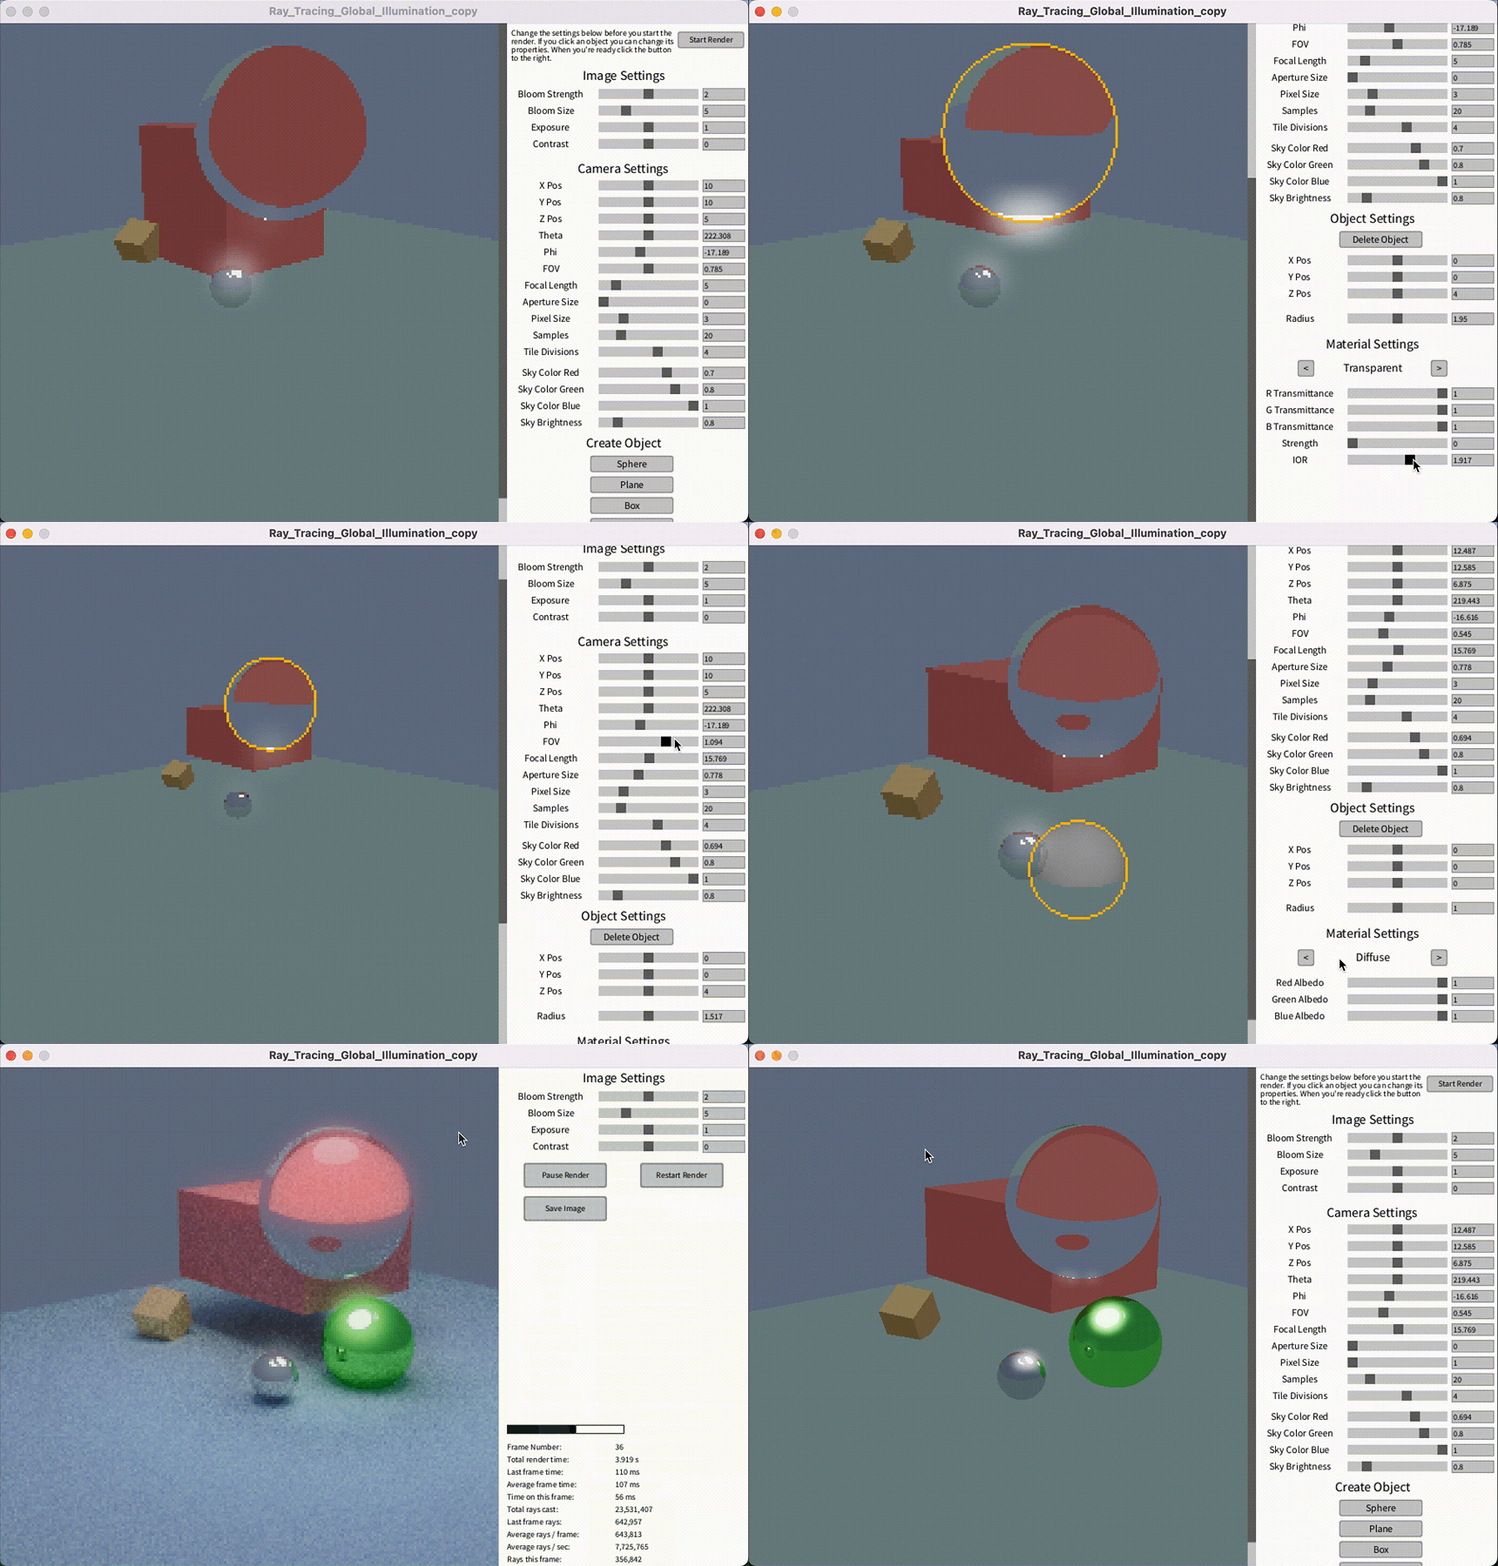
At this point the only way I could change the scene was to change which objects were created in code and then start the render to see if my changes looked good or bad. To fix this I first added a 'pre-res' mode that just drew the color of the objects to the screen with simple cosine shading. This allowed me to make changes and quickly see if they were good or bad. At this point I kind of got obsessed with making the app more user facing, adding a full GUI that allowed for the creation/deletion/movement of objects, changing materials, changing camera position and properties, etc. with tool tips for each slider. This was especially fun for me because I've never really made a user facing product before (apart from this website) and it allowed me to discover all the intricacies and difficulties of it (it also made my code even more of a dumpster fire, though some clever tricks made it at least manageable).
Multi-Threading
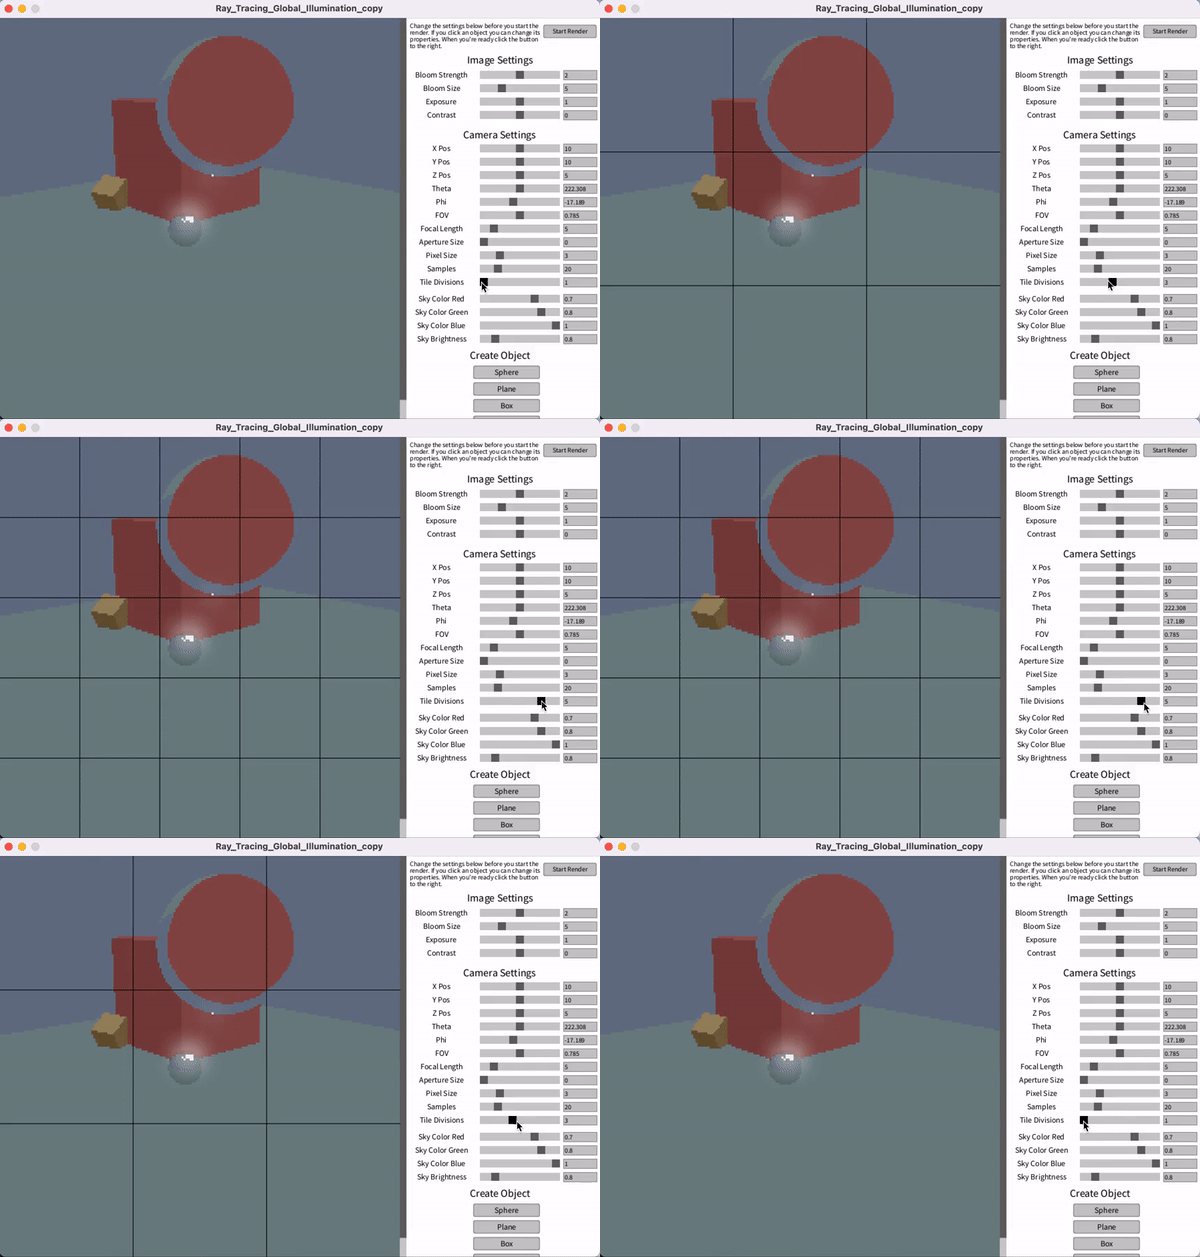
Because the color every pixel of a ray / path traced image is calculated independently it is sometimes called embarrassingly parallel. This means that the tasks can easily be separated out into multiple threads that all calculate pixel colors at the same time. As this was my first real use of parallelism there were some hiccups along the way but in the end I ended up getting a ton of performance improvements. On my laptop which has 4 cores and 8 threads I get a +168% performance improvement (954 ms / frame vs 2556 ms / frame) distributing the task across 16 threads, which I have found to be optimal for my PC. This increased speed allows for the rendering of much more complex scenes without.
Meshes and the KD Tree
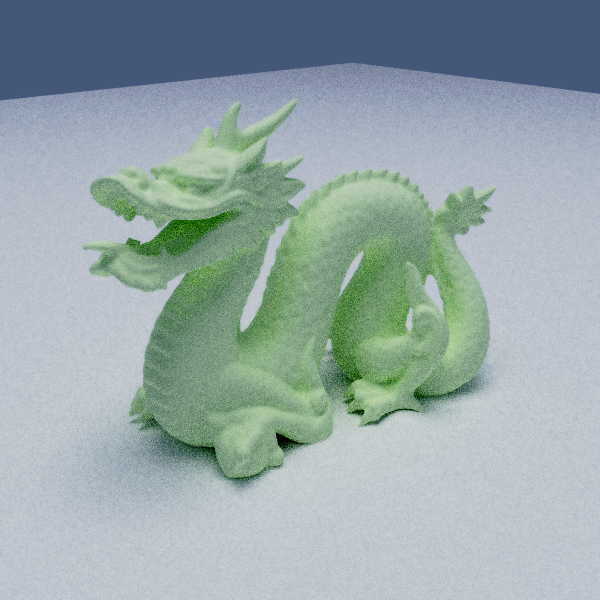
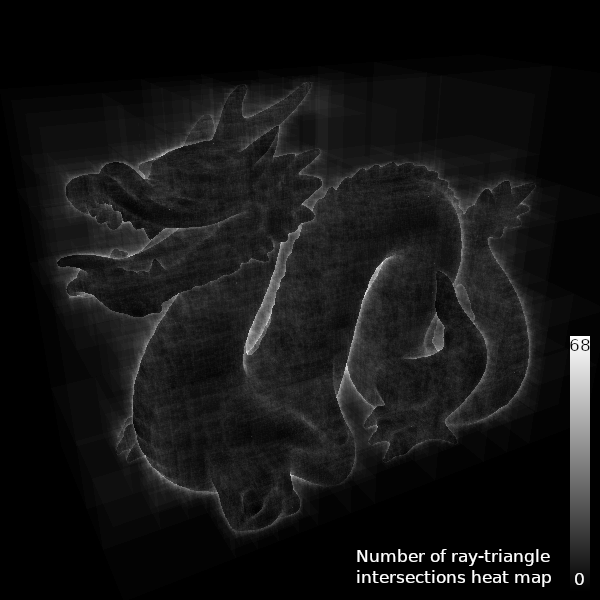
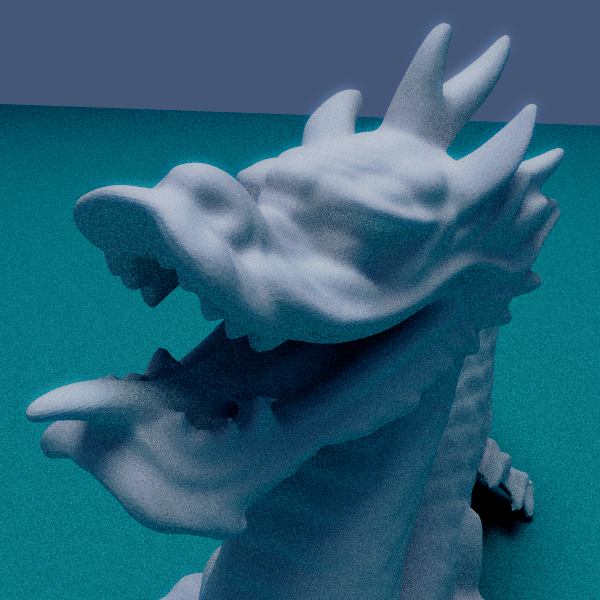
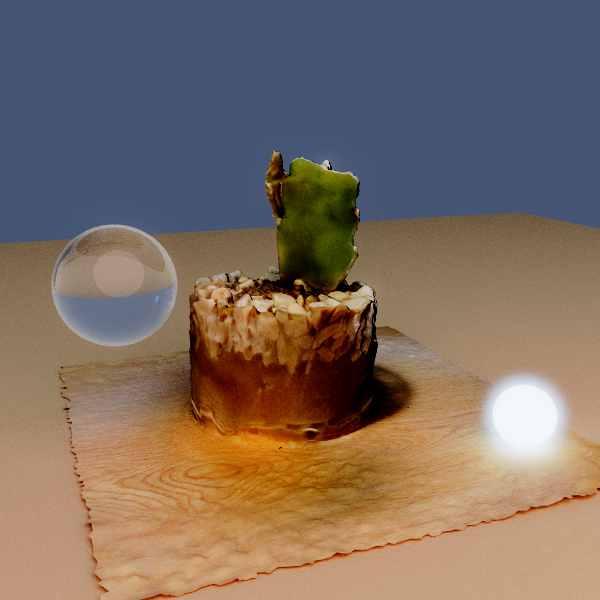
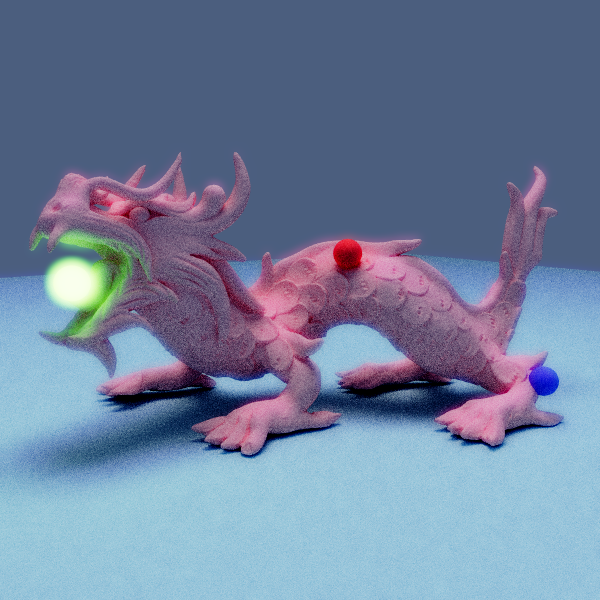
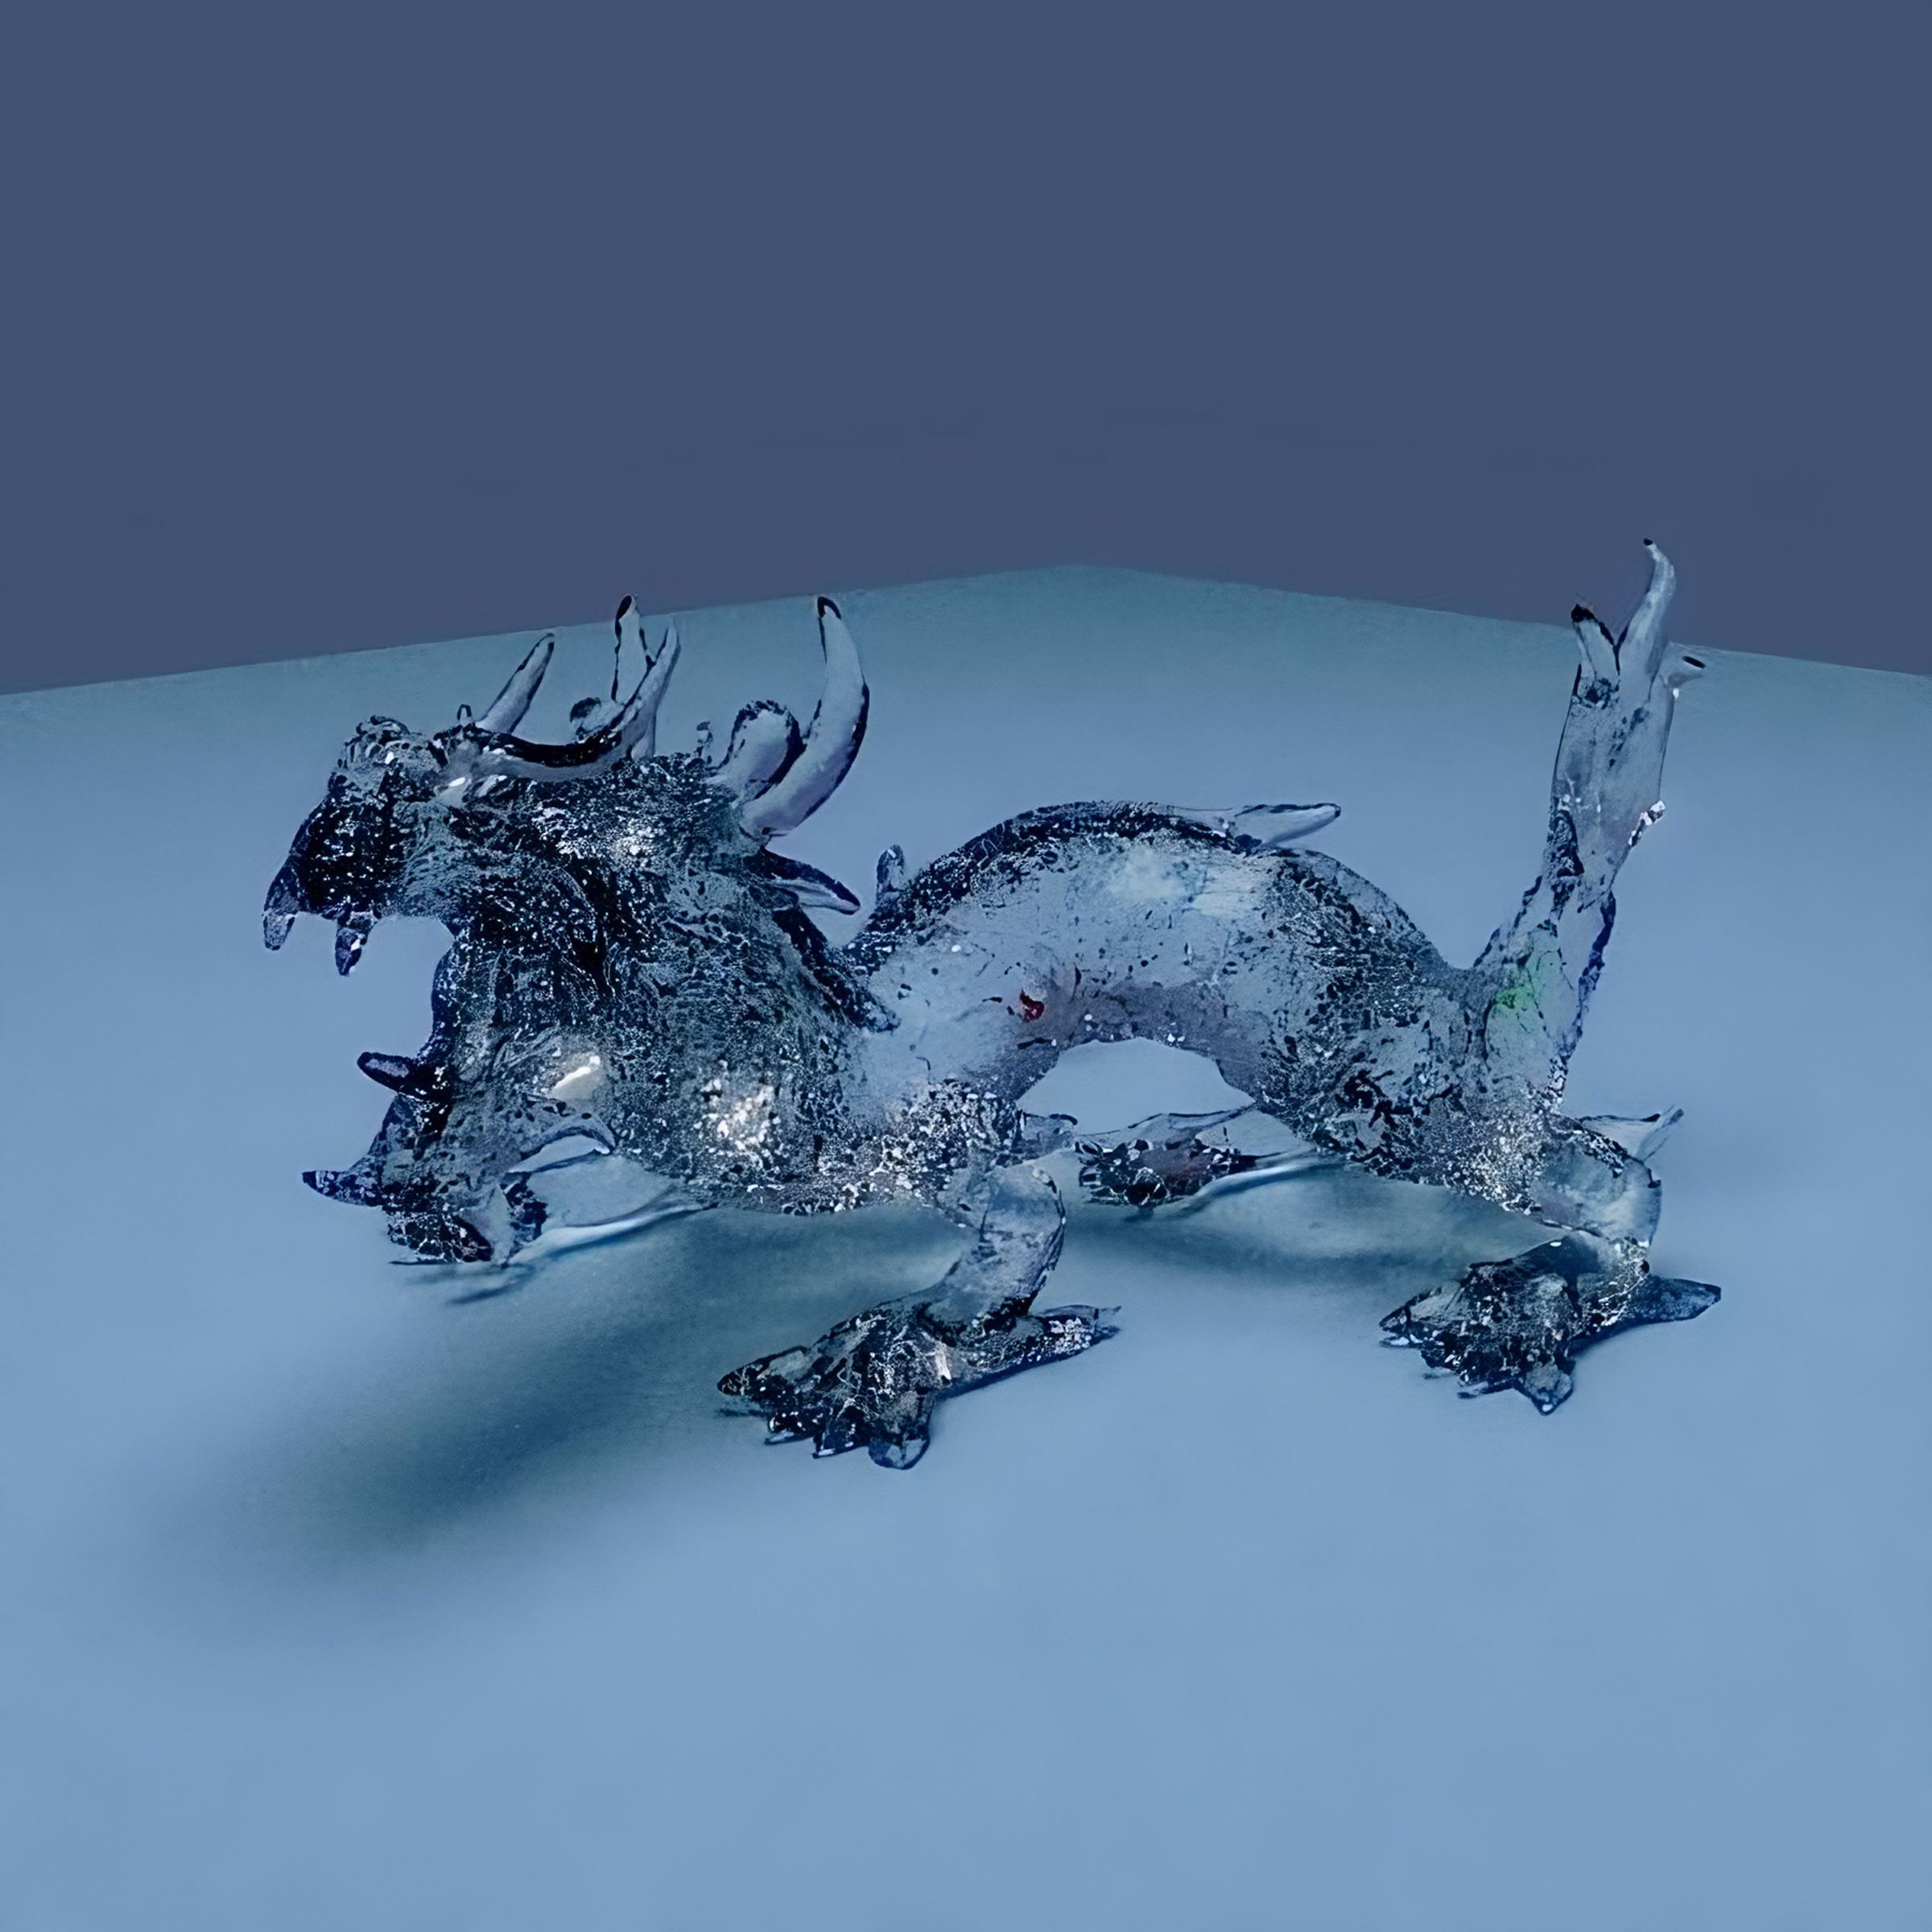
A very recent discovery I made was that reading books is a good way to learn, this was proven to me by the PBR book. When talking to my teacher about possible research projects he offhandedly mentioned something about KD trees which are spatial data structures used for keeping track of the proximity of points or regions efficiently. I knew from prior reading that these were used in path tracing, but I always imagined they were too complex for me to ever implement, but because he mentioned it I decided to do a bit more reading. This led to me getting fully nerd sniped and spending and entire weekend (20 out of the 48 hrs) working on an implementation for my path tracer. This is where the PBR book first helped me, primarily in understanding how a KD tree worked, then for speeding up implementation. In the end I went from only being able to render small meshes to now being able to render meshes with 300,000 tris! I also was able to add smooth shading and UV textures to make the images look even better. The performance improvements from this can only be captured by big-O notation, with no KD tree the cost of rendering a mesh is O(n) with the number of triangles, but with a KD tree its only O(log(n)). This means for my 300,000 tri mesh I am only doing a *maximum* of 70 ray-triangle intersection tests per ray rather than 300,000! and most rays do far less than that!
Extras
- Bloom: Bright objects look bright because they cause bloom, without this everything looks weird.
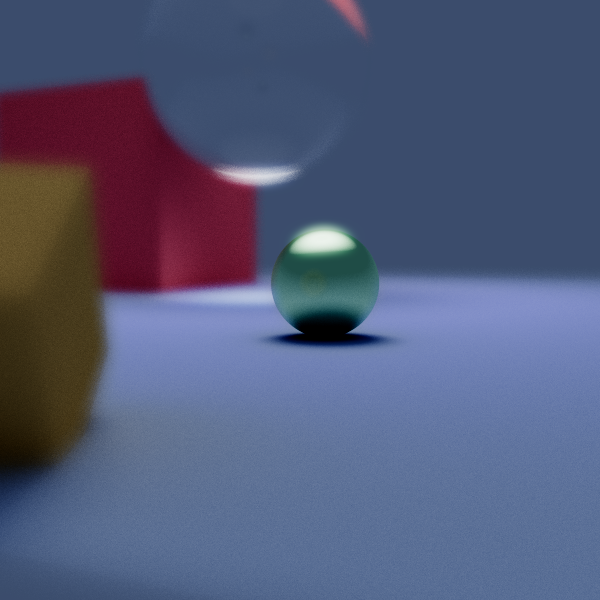
- Depth of Field: This makes renders look really cool in my opinion and adds a lot to the 'realism' though it does increase render times with the noise it adds. This is also true depth of field, not just a post processing effect.
- OBJ file reading: For meshes I needed a way to load them in, this meant being able to read some kind of 3d object file. OBJ files were the natural choice because they are simple and have a public format.
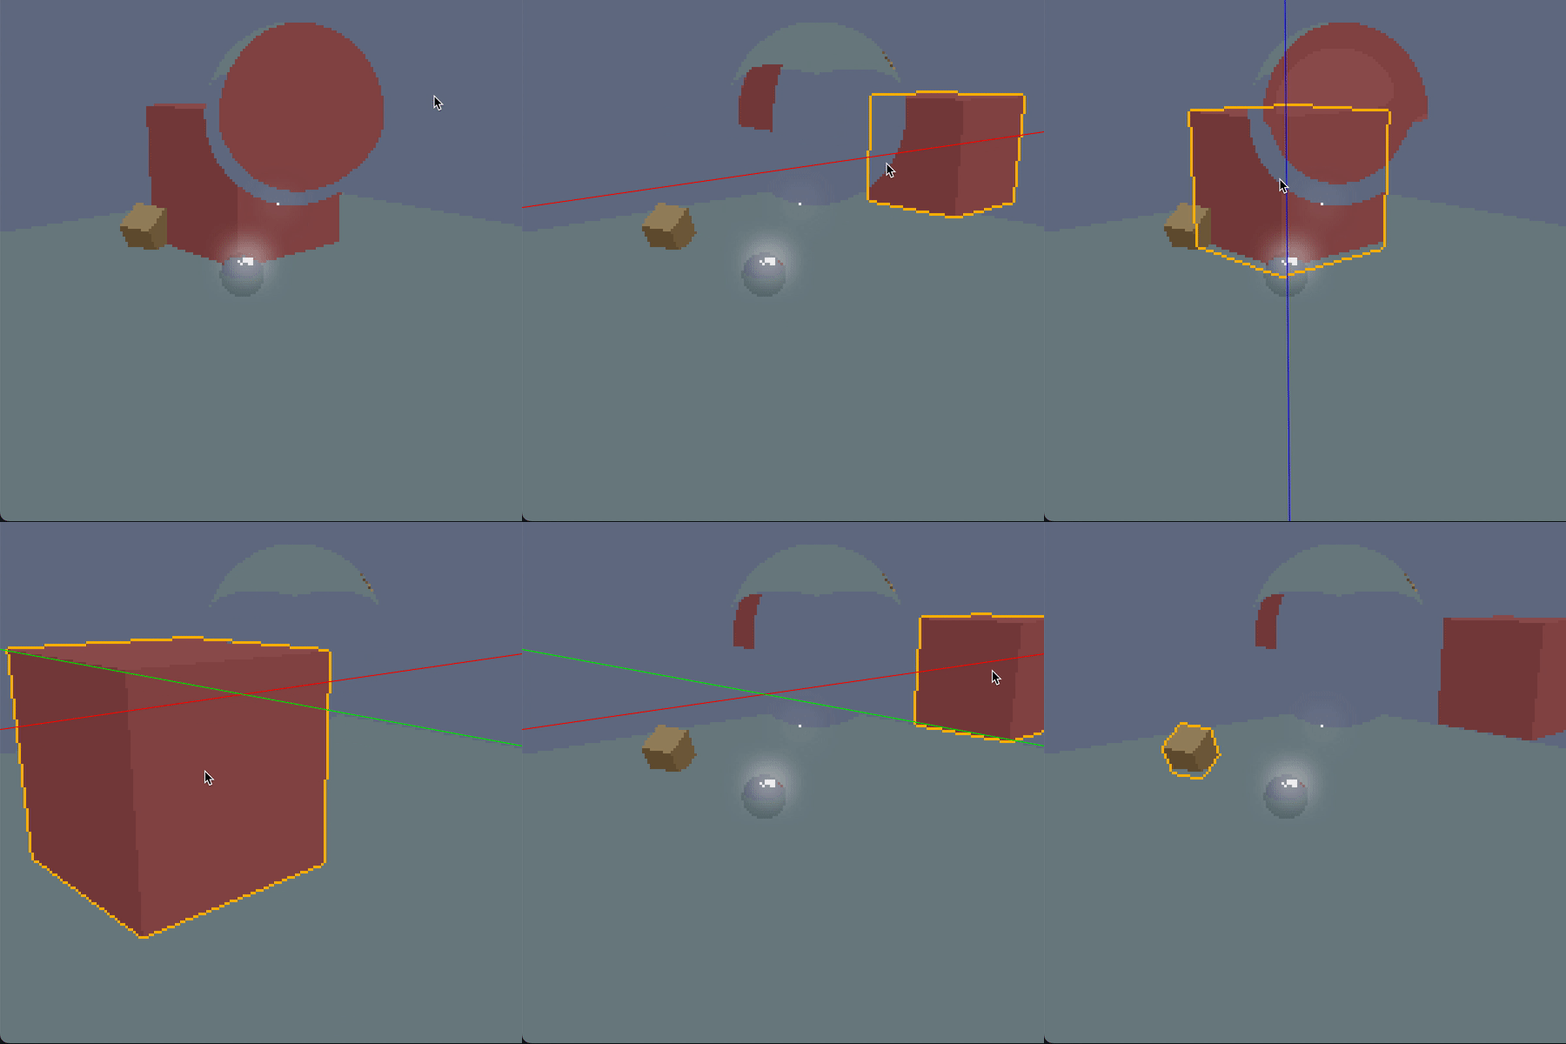
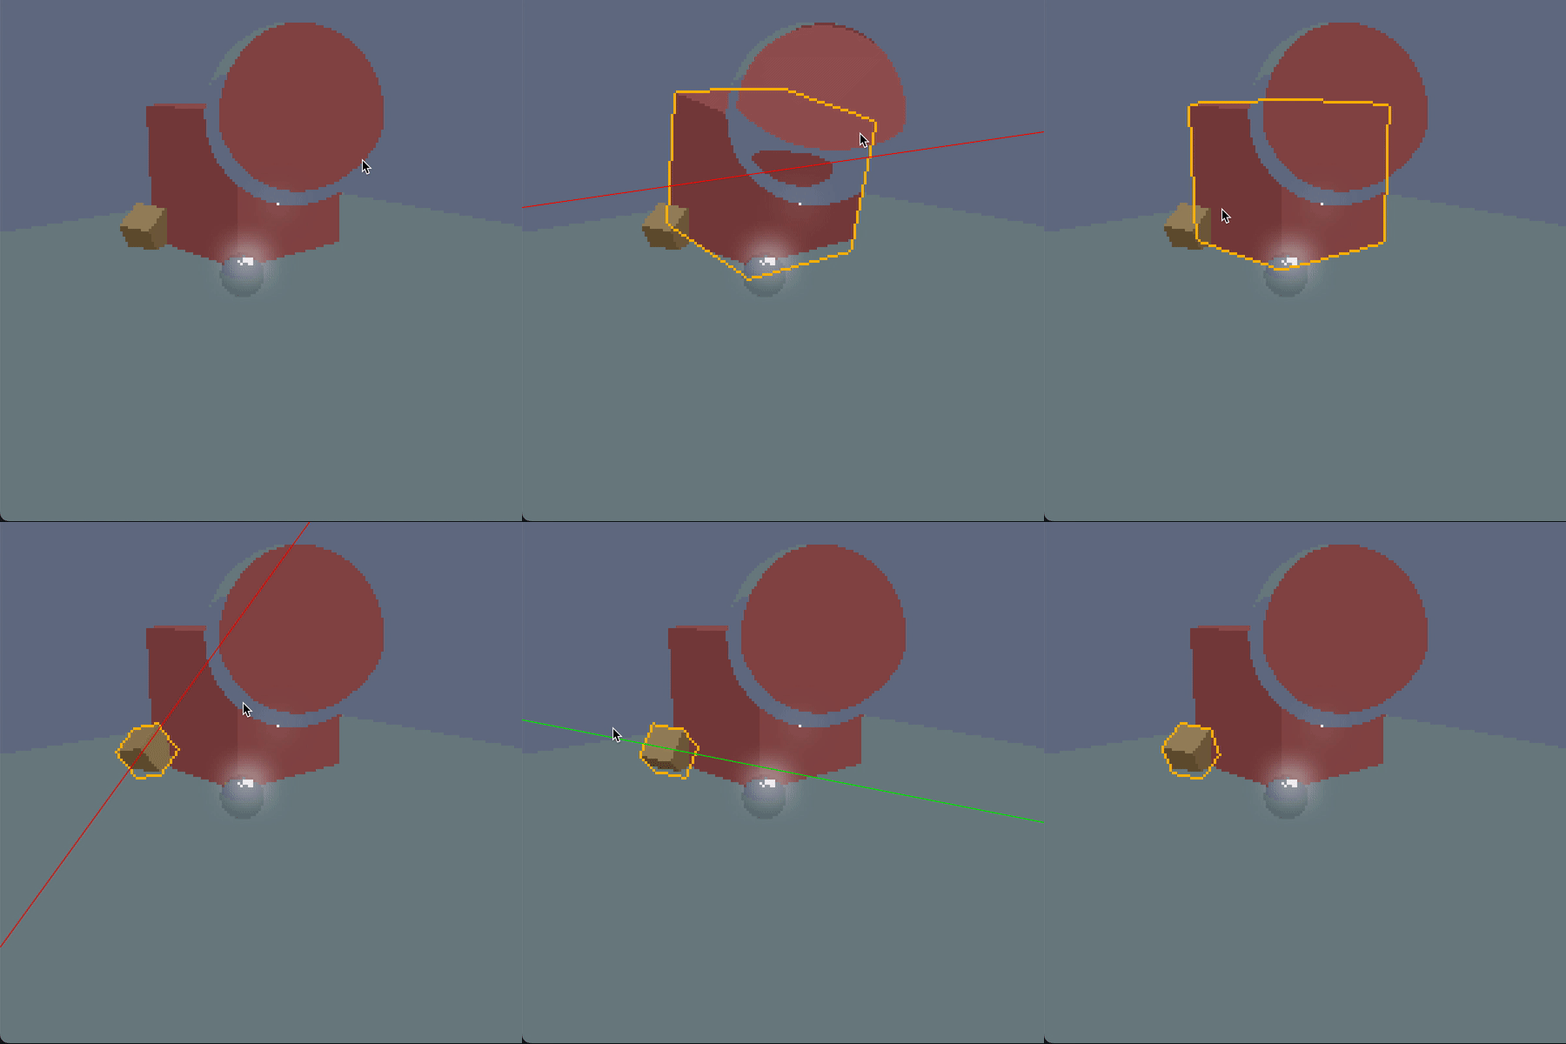
- Better interaction: I added the ability to translate and rotate objects directly in the scene using the mouse rather than sliders which is very nice for scene building
- Quaternions: Previously I was using a super hacky method to do object rotation but for a number of reasons I had to switch to Quaternions. This made everything nicer and allowed me to understand these abhorrent mathematical objects.
Future Work
- Denoising: As of yet I have been unable to find a denoising function that looks good and produces effective results, based on what I've read these are essential to getting good images but I'm not sure what methods are used (other than ML).
- Better sampling: In the book I mentioned, PBR book, there are pages and pages about better sampling methods but as of now I haven't implemented anything more than basic random sampling, I would like to change this in the future.
- Normal maps: These add a lot of detail to a scene without significantly increasing render times.
- Volumetric effects: I've always loved god-rays and fog effects in real life and in games, having these would be very nice.
Source & Executable
This is written in processing JS which is kind of a mashup of Java and JS, if you download PJ4 you can run this source. Read at your own risk, this was not written with other people in mind, and it might cause your eyes to bleed. I probably will need a full rewrite to fix that.
Executables are here
If you download the right one you *should* be able to run this locally without having to download PJ4. You will need your own OBJ files if you want to load meshes. Also, this is run at your own risk, if you don't know me maybe running random code from the internet isn't a great idea...
